 Hello my friends!!!
I haven’t forgotten my series… I have just been having a rough couple of weeks. I am glad to be back with you and today I will be sharing a tutorial I made a long while back about crocheting a Granny Square. The pictures are not the best… but maybe you will get the idea. 🙂
If you are a Newbie to Crochet HERE is a site to help you with basic stitches, you will see me refer to several in this tutorial… Chain, Slip Stitch, Double Crochet.
Step 1: Chain 5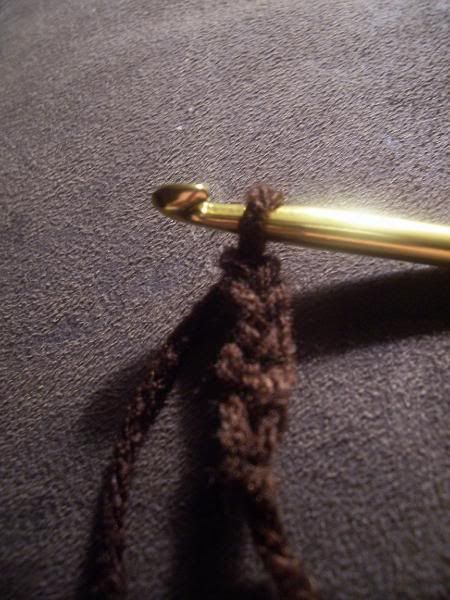 Cool, you got that! Alrighty we are on our way!
Step 2: You want to turn that chain into a round so you will go to the first chain and slip stitch…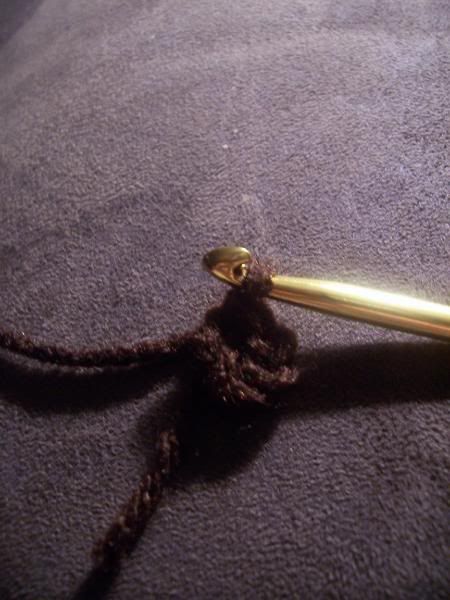 Now we have our center, we will build on from there! Woohoo!
Step 3: Chain 3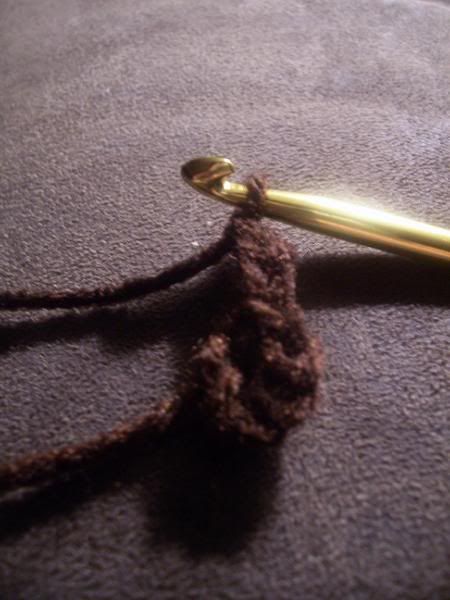 Here we are building out from the center and we will begin making a larger circle to build on from here
Step 4: Two(2) Double Crochets and chain 1 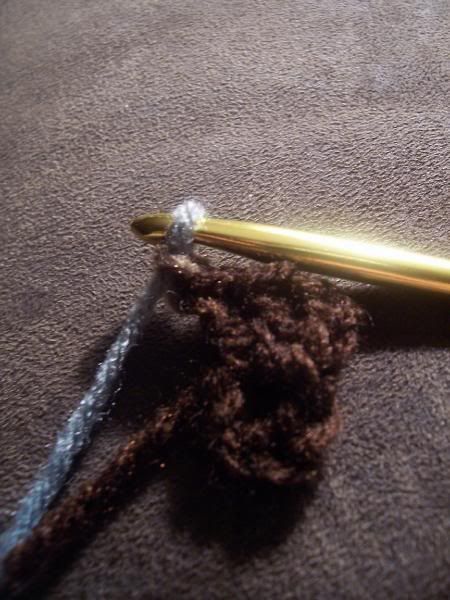 Alright, here we are in process of making our circle, so what we are going to do is we are going to double crochet 2 times and then chain 1. The chain will make the space we need to help us along in future steps…
Step 5: 3 Double Crochets and chain 1 (3 more times) slip stitch to complete the circle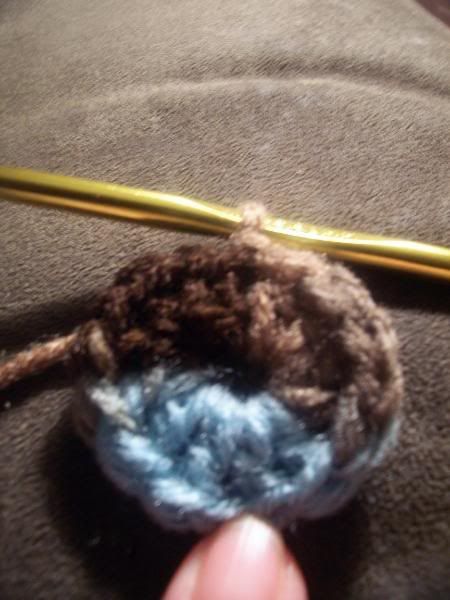 Now we have a circle!! Yippee… but wait I told you we were making Granny Squares right? Ok, bear with me we will get to the square in a minute.
So to make sure we are cool to this point, counting the first 3 chains as one DC (double crochet) you will have 4 sets of 3 double crochets with one chain in between…. clear as mud??
Step 6: Chain 3 and then double crochet 2, chain 1, double crochet 3 and chain 1 in the same hole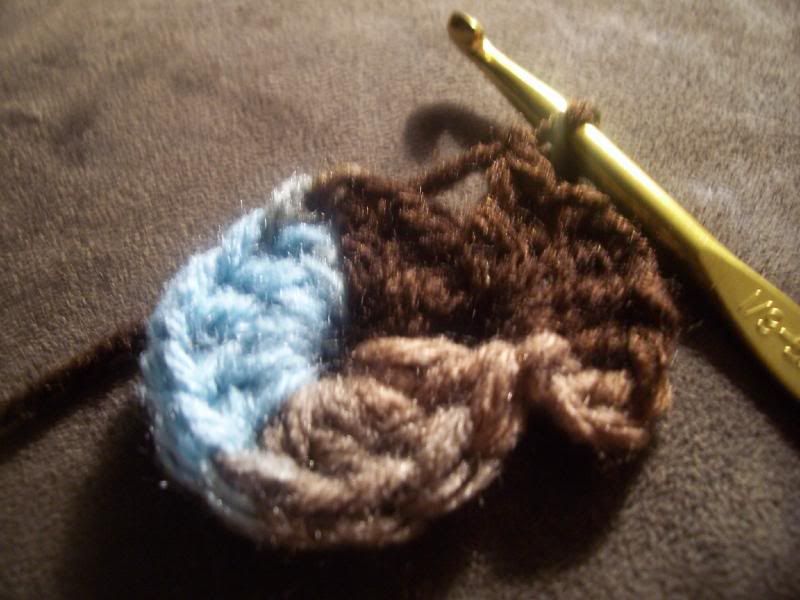 If you will look at your round you will see 3 double crochets and then a hole/space in between each set of 3. This space is where you will go into to make your next layer or sets of 3. Does this make sense… I am trying!
What you are doing now is building your edges… we can’t make this granny square stay a circle any longer, we are going to put some corners on it! 
Step 7: Look for next hole, double crochet 3 and chain 1~ 2 times in each hole. (You will do this in each hole till you meet back up with your first set. This will form your first square. Slip Stitch to complete the square and now you are ready to build on. 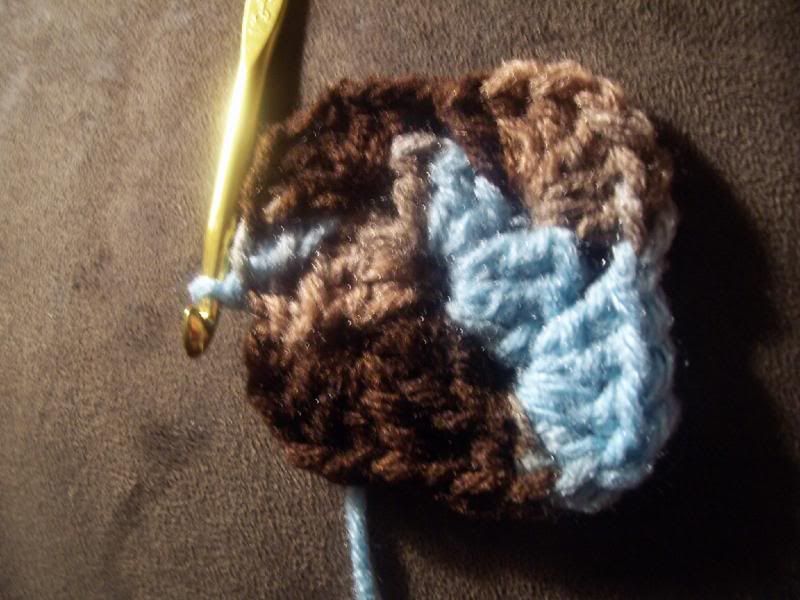
Step 8: Chain 3, double crochet 2, chain 1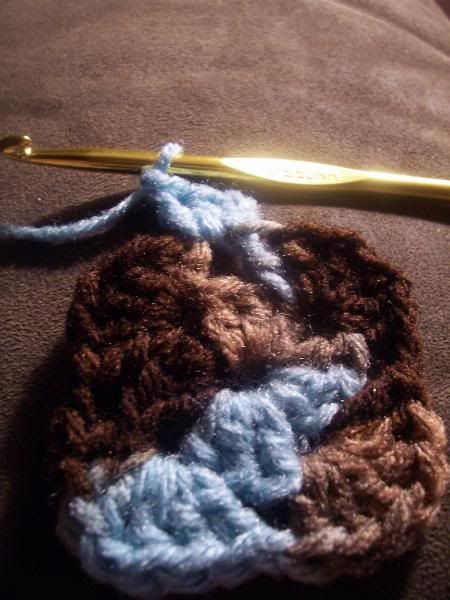 You will notice that there is now a hole between each of the four edges, you are going to do almost the same thing in each hole… meaning you don’t want an edge you just want a set of 3 dc’s to fill the hole.
So dc three times and chain one and move to your edge.
Step 9: Double Crochet 3 times, chain 1, Double Crochet 3 times, chain 1 in corner hole.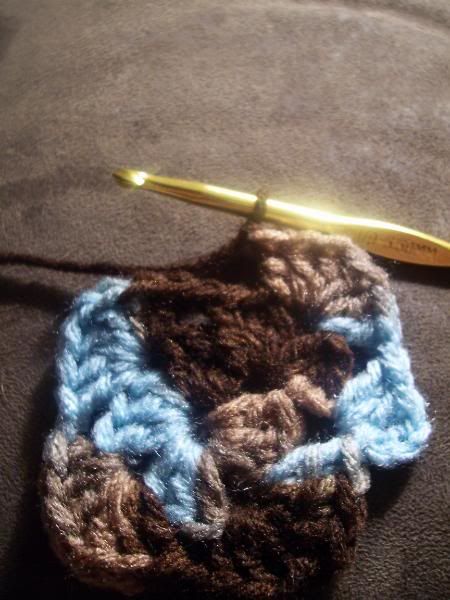 Again, you are making corners for this square, you should be catching on to a pattern if I have successfully portrayed this to you. So in each of the corners you are making 3 dc’s, chain 1, 3 dc’s, chain 1. Simple!
Step 10: Slip stitch to join the square together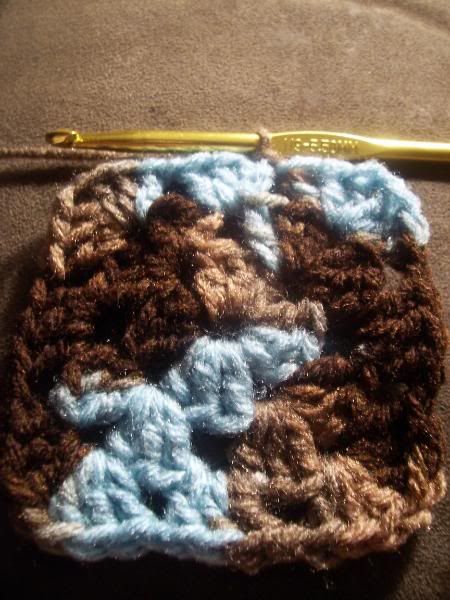
***REMEMBER, your first chain of 3 counts as your first dc in your first set.***
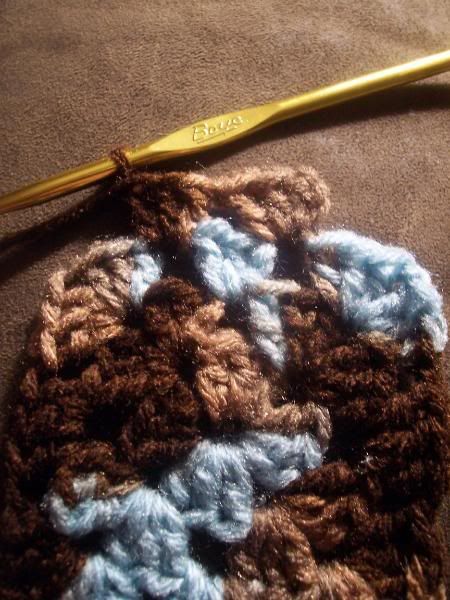
Step 12: All the way baby… go all around just as I told you, come together again, slip stitch and tie off your end.
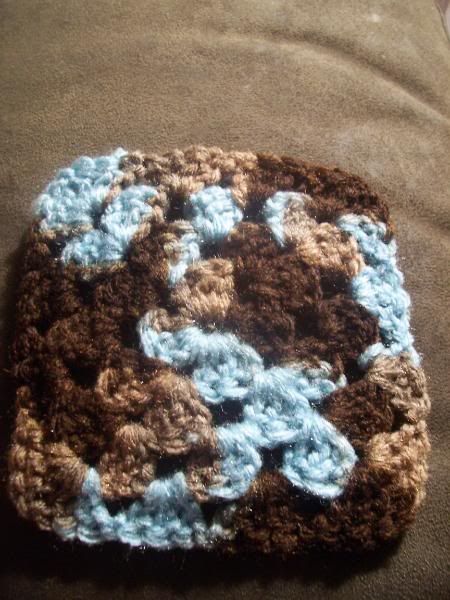 The lady who taught me only does 4 layers, but of course you can do more if you like.
 Now you want a bunch of these… so get to it!

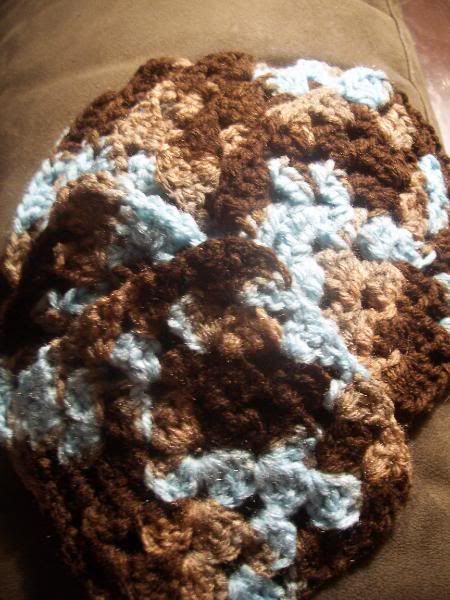 I don’t have nearly as many as I would like to have had done by now, but remember I am teaching myself to hold the crochet needle/hook in the proper way, so I am SLOW JOE right now.
 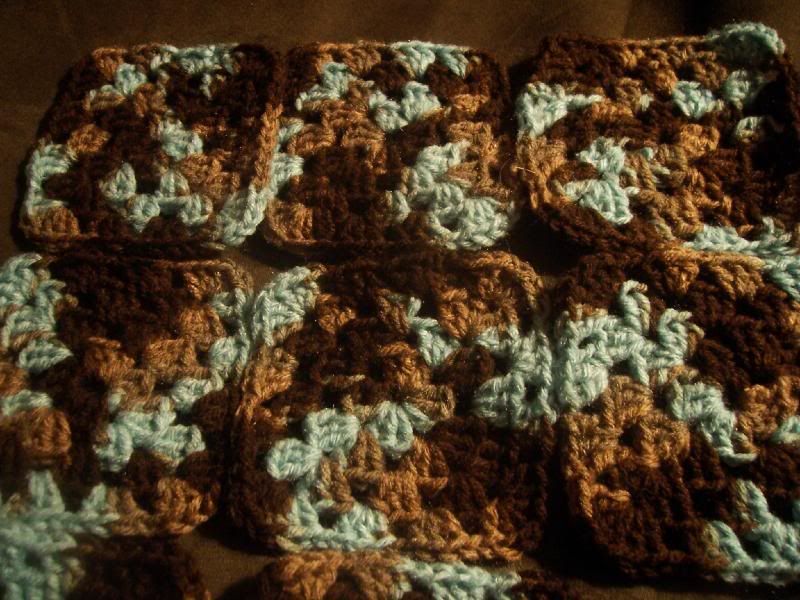 Once you get several made you can do all kinds of things with them…
 Make them into an afghan by stitching them together, make potholders out of them by putting several layers together on top of each other and stitching, use them as coasters, make a pillow cover, make your dd a doll blanket out of a few… whatever you like.
I hope you enjoyed and understood my attempt of spreading the knowledge that I received. If you see a mistake, feel free to email me or message me and I will change it, and now go get your yarn and your hook and go for it! If I can do it YOU can do it!

In other news… My friend Lisa at Homestead Originals is holding a contest for three DVD set from The West Ladies. I LOVE their videos! Truly. I would LOVE to win!


