Sheesh!
Sorry about that!
Kefir is SO stinkin easy.
It is a great probiotic and is great to have on hand in your kitchen. You can use it in smoothies, which we do a LOT, or in dips or in place of yogurt.
There are many uses and it’s super simple.
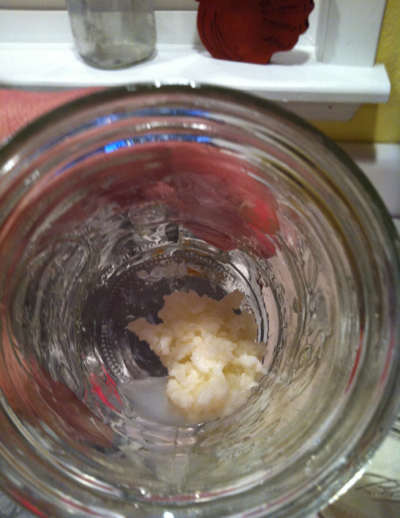
Start with kefir grains. You can buy them through the internet, or you can find a likeminded person and usually they are willing to share with you. Kefir grains will multiply, so you can separate them and share. This is the best way of doing it in my opinion… buying them is a bit pricey.
Fill your pint jar 3/4 of the way full with milk. I use raw milk, which you know if you have read this blog for a while. But, if you don’t want to or can’t use raw, a whole milk will work.
Set your kefir grains and milk on a counter. Somewhere that you won’t forget about them, but somewhere that they will not be disturbed. Let them sit for at least 36-48 hours. Mine usually take 48, my house is a bit cool right now with the windows open and the breeze blowing through.
During that time you will get a fermentation going and you may even see the top of your jar lid pop up a bit… When you open your jar, you should see a semi-solid mass that smells soured. That is what you want. If you leave your kefir grains for too short of a time, the full ferment will not happen and they won’t be sour, but sweetish… you don’t want that. You need that tang.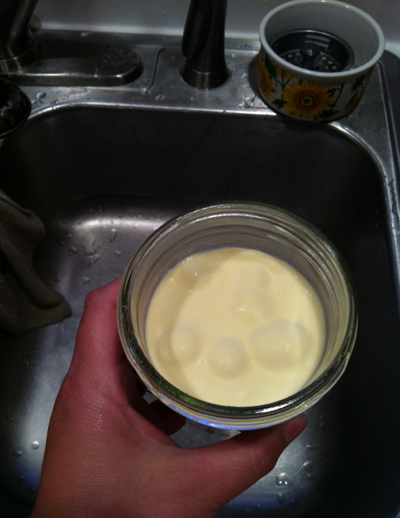
This is what mine looked like when I opened my jar. The yellowish tint is because of the cream in my milk. It settles to the top and makes it yellowish.
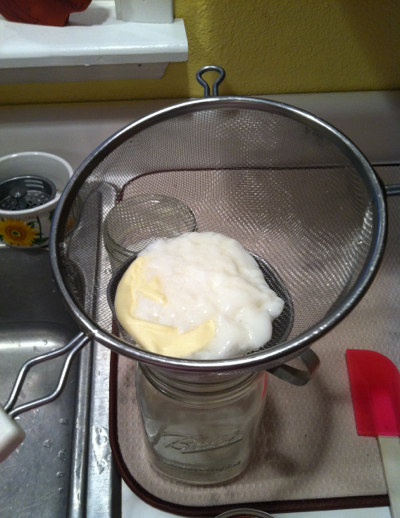
Strain your kefir grains over a jar, you want the milky part to filter through, but you don’t want to lose your grains.
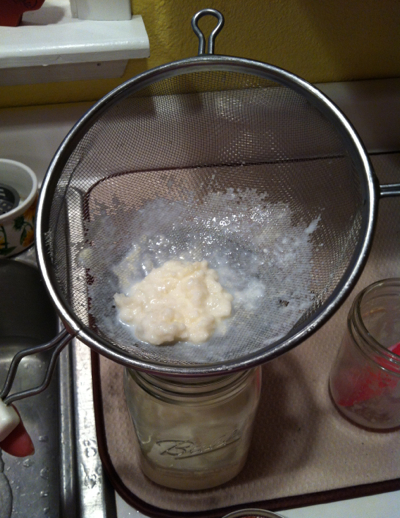
You may have to work it back and forth a bit with a rubber spatula.
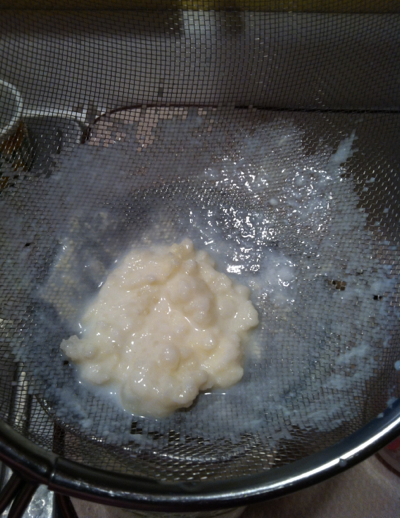
There are my grains. And my new kefir is in the jar, ready for a lid and to go in the fridge.
There is speculation about whether or not to rinse the grains. I have heard both. I used to not rinse them. But I have read somewhere recently TO rinse. So I have started doing that.
I rinse under some cold water. Toss them back into a clean jar and start the process all over again.
Fill with milk. Let sit on the counter while fermenting.
So simple.
So good for you.
Even the busiest of people can handle this.
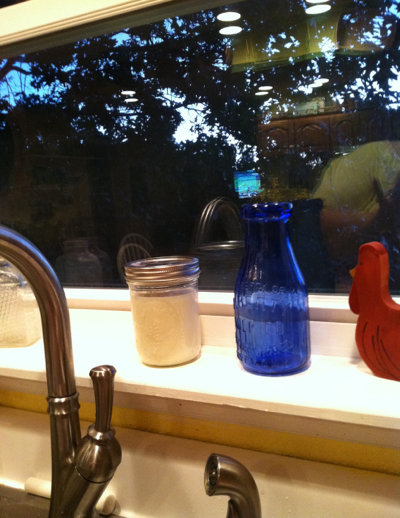
As you start brewing your kefir, if you don’t use it right away just add your new kefir with your old. When you have enough, you can make the kefir cheese or use it in a smoothie. OR you can use it every time it is brewed and not have any excess. It’s totally up to you!
Enjoy!
And if you want or need kefir grains, I am happy to ship when I have some to share. These have been going in my kitchen for a long time, and I am pleased to share when I get enough. Let me know in the comments or email me @ heritageacreshomestead at G mail dot com and I will put you on my waiting list!
